How to Check and Recharge Your Well Pressure Tank: A Step-by-Step Guide
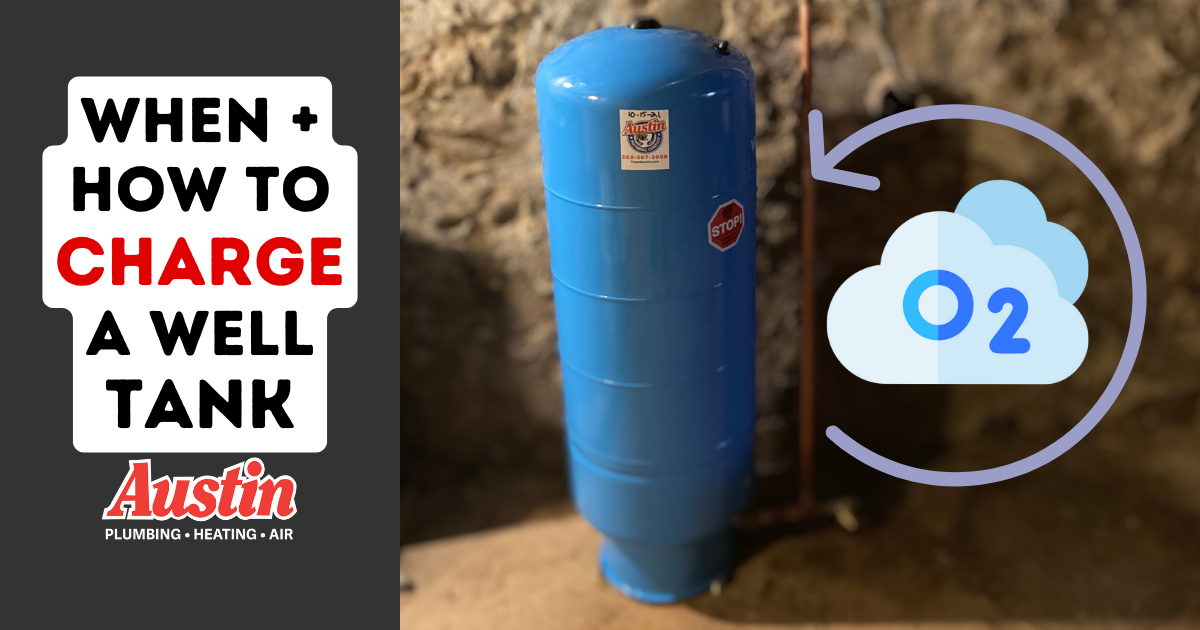
Keeping an eye on the oxygen charge in your well pressure tank isn’t optional for well owners! Our Master Tradesman’s guide shows how it’s done.
Will this guide work for my well tank?
This guide provides a universal procedure that works for all different types of well tanks, including AOW tanks, diaphragm tanks, air-volume control tanks and bladder pressure tanks. (You can read more about the 4 major types of well tanks here.)
Tools Needed to Check & Add Air to Your Well Tank
First, you’ll need a garden hose, an air pressure gauge (like the one you use to check the pressure on your car tires), and an electric air compressor.
How To Check Your Well Tank’s Pressure
- Turn off the power to your well pump- Some well systems have a disconnect switch right on the wall near the well tank. If you don’t find a switch right near the well system, you may need to turn off the pump at the circuit breaker.
- Close the main shut off valve to the plumbing system- We want the main shut off valve to be closed to prevent the whole plumbing system from draining back while you do your pressure tank checks.
- Connect a garden hose to the drain at the bottom of the tank- There should be a drain faucet with hose threads somewhere near the bottom of the well tank. Attach a garden hose to the drain and run the garden hose to the nearest floor drain.
- Set something heavy on the hose near the end- This is important to prevent the garden hose from jumping out of the floor drain during the next step and making a mess all over the basement!
- Open the well pressure tank drain and drain the tank- Open the well tank drain valve slowly at first and eventually open it all the way to drain all of the water out of the pressure tank. NOTE: if you have an older style air over water pressure tank you may need to depress the air valve to release the vacuum in the well tank in order to get it to drain out completely. Bladder style well tanks do not need any assistance to drain completely.
- When empty, close the drain valve at the bottom of the tank- Signs to look for to know the tank is completely drained are the pressure gauge says zero, no water is coming out of the well tank, and the well tank sounds empty and hollow when you tap on it.
- Verify the operating pressure of your well water system- This is a critical step to making sure your well tank is properly set up. The best way to determine what the operating range of your well system is set to is to look inside the well pressure switch cover. The operating range of the pressure switch is typically printed on a label inside the pressure switch cover.
- Check the air pressure in the pressure tank– Somewhere on the well tank there will be an air valve stem very similar to the air valve stem on a car tire. Locate it and check the air pressure in the tank.
Air-over-water tanks: the reading will be zero and this is normal.
Bladder-style pressure tanks: There should be some air pressure in the bladder at this step. If there is zero pressure in the bladder or water squirts out of the air valve stem this is a sign that the bladder has ruptured and you may need service.
| Pressure switch setting (from inside cover of pressure switch) | 30-50 PSI | 40-60 PSI |
| Proper amount of aircharge in well pressure tank | 28 PSI | 38 PSI |
If you determine at this stage that your well pressure tank has the correct amount of air charge in it, then you can proceed to turning the power back on to your home.
How to Recharge Your Well Pressure Tank If It’s Low on Air
If you find that the air pressure in the well tank is low, you can follow the next couple of steps to properly recharge your well tank.
-
- Get your air compressor ready- Because of the pressure needed and volume of air, an electric air compressor is the best tool for recharging a well pressure tank. Get your compressor plugged in and an air hose ran near the well pressure tank.
- Recharge the well pressure tank- The same port you used to test the air pressure at is the one you use to fill it. Attach your air hose to the air valve and begin to add air to the pressure tank.
- Check your progress- Depending on the setting of your pressure switch, you will want to fill the pressure tank or bladder with either 28 PSI or 38 PSI. Check the progress of the recharge, as overinflating a well pressure tank’s bladder could cause damage.
- Stop adding air when you get to your set point- When you reach the desired air charge, stop adding air to the well tank or bladder.
- Put the cap back on the valve stem- Over time air can leak out of the valve stem on the air valve on the pressure tank. Make sure the cap is on tight when you’re done filling the well tank.
- Get your air compressor ready- Because of the pressure needed and volume of air, an electric air compressor is the best tool for recharging a well pressure tank. Get your compressor plugged in and an air hose ran near the well pressure tank.
Turning the Well System Back on After a Well Tank Recharge
After you’ve taken care of the above, it’s time to turn the pump back on and re-pressurize your home’s plumbing system. Here is how to do it properly:
- Keep the main shut off valve OFF- This was step 2 during the initial check. Keep the main shut off valve closed.
- Ensure the well tank drain valve is closed- Double check to make sure the drain valve on the well tank is closed to prevent a mess and surprise!
- Put the cover back on the well pressure switch- If you haven’t already, be sure to put the pressure switch cover back on tightly BEFORE you turn the power back on the well pump.
- Turn the power back on to the pump- Re-engage the circuit or disconnect switch for the well pump. At this point, you will hear the well pump turn on and start filling the tank. When the well pump shuts off, move to the next step.
- Slowly open the main valve- When you open the main shut off valve to the plumbing system, make sure you do so slowly.
- Purge the plumbing system- Anytime a home’s water is shut off there is sediment and air that needs to be bled from the plumbing system. Start at faucets that do not have an aerator, such as laundry tub faucets and work your way through the home running water from each faucet. Don’t be alarmed if the water runs dirty for a little bit or if you notice some air. This is normal after checking a well pressure tank.
- Double check your work area- Anytime you check a well tank, you are exercising valves and making adjustments to the water well system. It’s good practice to circle back and check your work area for leaks that may arise shortly after your work.
Congratulations! You have now successfully checked and recharged your well pressure tank and should have a better functioning water well system.
If you need help performing any type of water well service, well pump service or pressure tank service, call the well wizards at Austin Plumbing, Heating & Air at 262-367-3808 or book a service now!

